Home of the AniMove stop motion calibration software and print solution. Helping animators produce smooth, precise, repeatable movements easily and accurately.
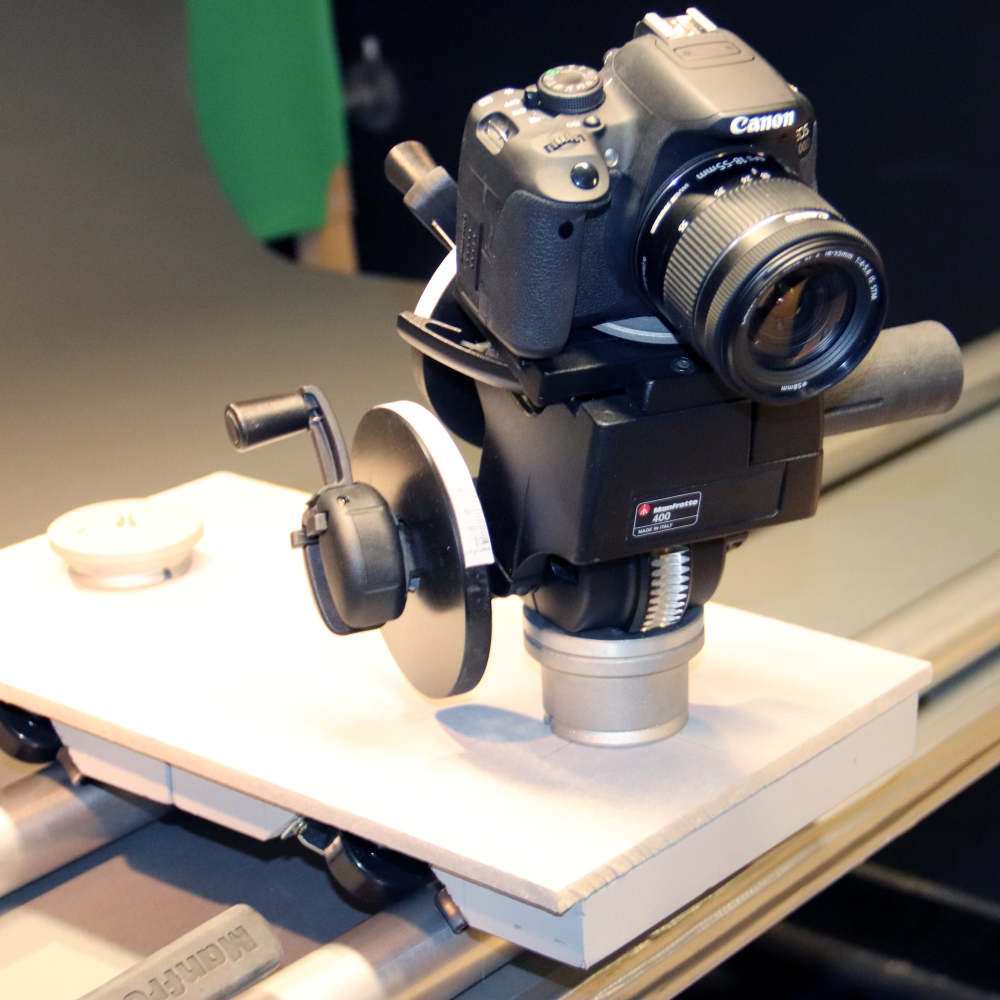
Put simply an AniMove printer creates a frame ruler that can be attached to many forms of rig and used as a guide for how far to move the camera or object each frame, the goal is consistency of movement and smooth measured acceleration.
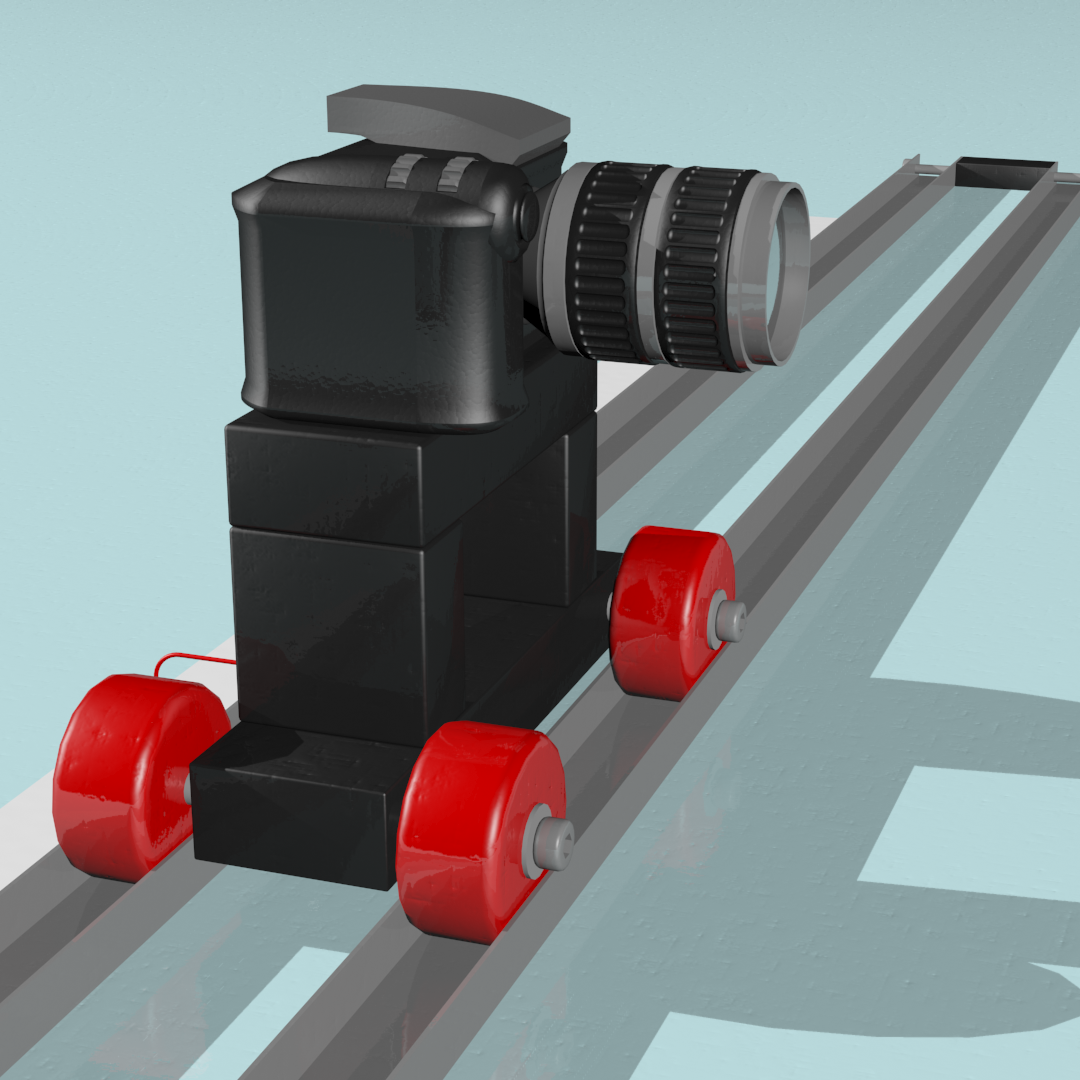
If we wanted the camera to sweep through the scene before ending up on our character, we would set up our camera on rails to keep the track true, work out our start and end point then divide that distance by the number of frames. Now we get out a tape measure and mark that distance out for each frame.
Watching that back after the shoot though we notice that the camera jerks into action then screeches to a halt. Smoothing that out is a case of moving the starting and ending frames closer together to form a smooth pickup and slowdown in the finished shot then remeasuring the distance left for the remaining frames and splitting that between the remaining frames, but wait now the distance between frames we were accelerating towards is wrong!
Speaking to professional animators we discovered there were two main ways of dealing with this issue.
1) Delve into the mathematics to work out the correct distances, carefully measure out each movement and then hope you didnt mess something up on your calculations or with measuring and drawing out your moves.
2) Do it by eye and hope you guesses work out ok in the finished shot. If not, you wont know until you watch it back and have to start over from the beginning.
Clearly neither method is ideal.
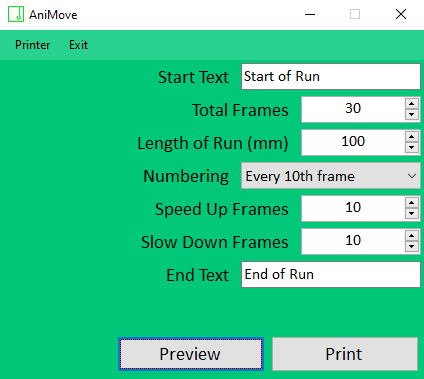
Plug in an AniMove printer, open the software, tap in the number of frames, the distance and tell it how many frames to accelerate and decelerate for. Clicking preview will allow you to check it looks correct before you hit print, then go make a coffee while it prints allowing you to get on with animating your scene.
The AniMove software allows you to set custom start and end labels to keep track of your runs as well a set a numbering interval, numbering every frame is possible but often impractical when they are close together.
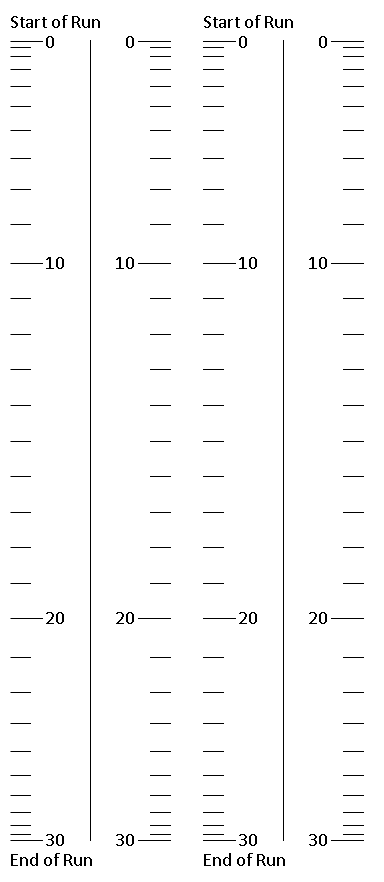
The output from the printer is a customised frame ruler with marks at specific points with gradual adjustments to allow for a smooth speed up and slow down (if required).
Custom start and end labels can be specified allowing you to keep track of which ruler belongs on which movement, we found this especially helpful when dealing with multiple simultaneous actions within a scene.
Frame numbers can be added to help you keep track keep track of your current position, these can be set by at every 10 or 5 frames. A custom number of frames can also be defined, this can allow you to number every frame if required although that can lead to overlaid numbers if the frames are close together.
The complete frame ruler is duplicated on the paper on the left and the right allowing a copy to be kept for reference or a backup in case the first becomes damaged.
The marks are only 0.125mm thick allowing very fine distance movements to be achieved.
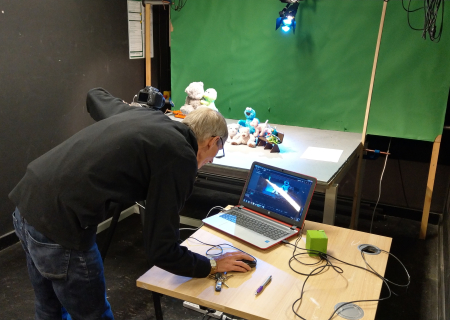
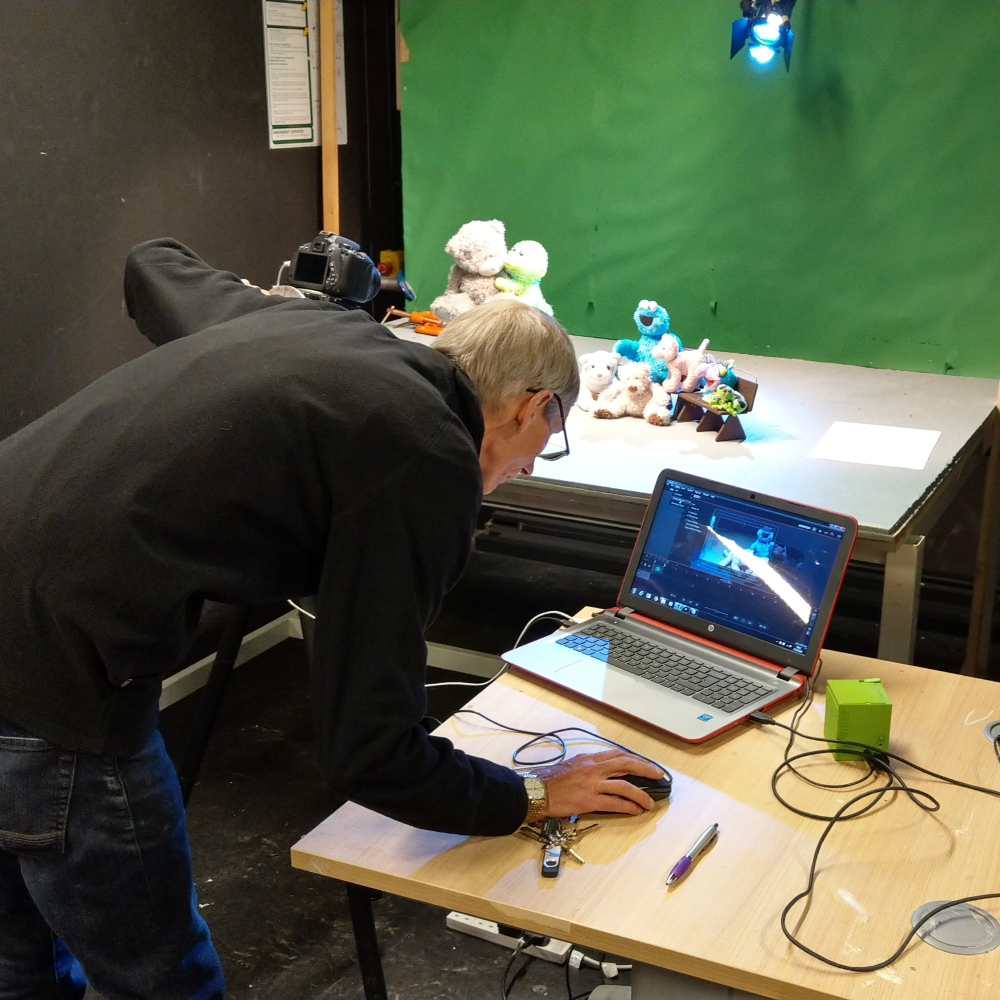
The Creative Arts department at Edge Hill University kindly agreed to work with us to test and refine the printer for use in the field. Many thanks to all who got involved!
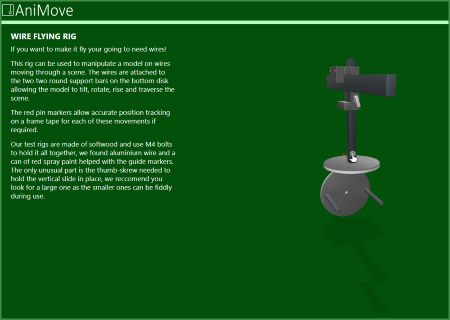
The rigs page now includes manipulatable 3d models so you can have a proper look and get a feel for how they work.
But don’t take our word for it, have a look for yourself!